
Mechanical Seal Leaking: 7 Causes & How to Fix Each
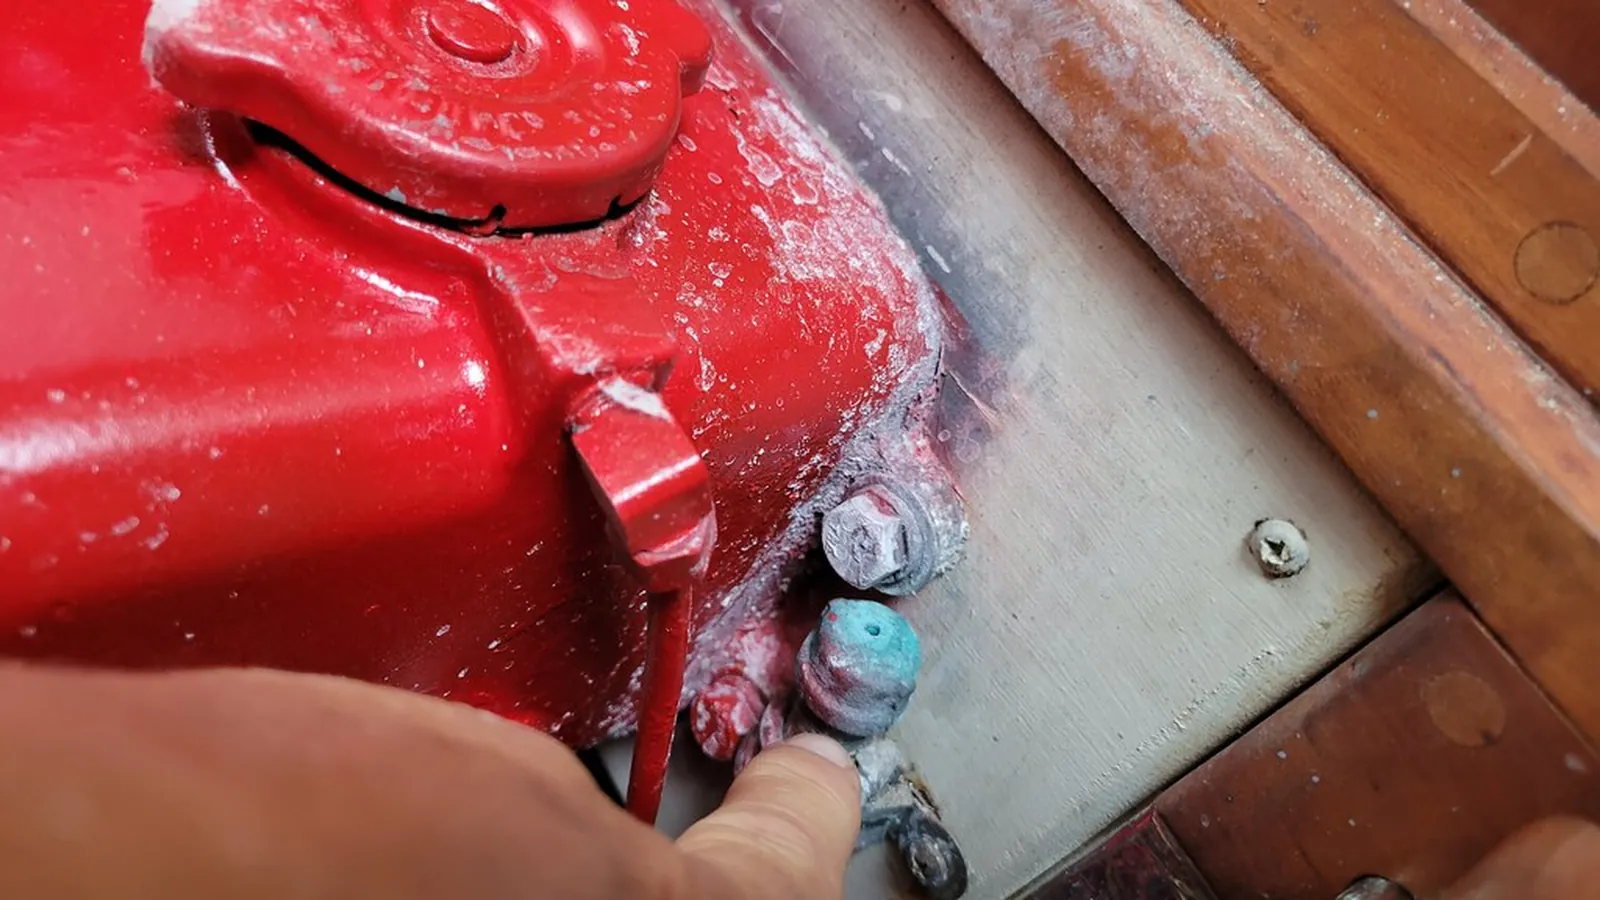
Table of Contents
When a Leak Is Normal
Start with an honest baseline: a mechanical seal is not a zero-leak device. It seals by riding on a microscopic fluid film, and that film is a leak — invisible in a weep, visible in a drip. Industry practice treats a light weep at the gland as normal operation for many seals, especially during run-in and on certain media. The question is never whether there is any moisture, but whether the leak is stable, improving or getting worse.
Three leak states are normal: a light weep during the first hour of a new seal's run-in; a stable weep on heavy or hot duty where the faces are designed to run slightly wet; and a slow increase over years as the seal approaches end-of-life. What is never normal: a leak that starts suddenly, a leak that grows week by week, a spray or stream, or a leak accompanied by heat, noise or vibration. Those are the symptoms this guide is about.
One more baseline: confirm the leak is actually the seal. Gland leaks come from the faces, the gland gasket, the shaft O-ring or a cracked gland — and a leak can also come from the pump casing joint, a drain plug or a damaged pipe flange, all of which look similar from a distance. Wipe the gland area dry, run the pump, and watch where the first moisture appears. Diagnosing the wrong joint wastes a seal and a shift.
Cause 1: Wrong Seal Selection
A seal selected for the wrong pressure, temperature or media fails quickly and leaks. Symptom: early failure with no installation error visible. Fix: re-verify the duty and choose a seal rated for it.
Recognize it: a seal that fails in days or weeks on a pump that previously ran fine, with no installation error visible and no pump-side fault found. The seal was chosen for the wrong pressure, temperature, media or speed. Common versions: an unbalanced seal at high pressure, an elastomer the media attacks, or a face pairing that cannot survive the abrasives.
Troubleshoot: confirm the actual duty — measure chamber pressure and temperature at the seal, not the nameplate. Check the media composition, including trace components and additives. Then verify the seal's rating against those numbers, not against what the last order said.
Fix: reselect the seal for the real duty — configuration, face pair and elastomer together. Prevent: keep a written record of the duty for every pump, updated whenever the process changes, so the next order is never a guess.
The cheapest fix is prevention on paper: when you order a seal, send the four numbers and the media — shaft, bore, pressure, temperature — and ask the supplier to confirm the rating in writing. If the pump duty has changed since the seal was installed, that change is the prime suspect. Plants that keep a duty sheet per pump replace far fewer seals than plants that order from memory.
Cause 2: Installation Damage
Scratched faces, nicked elastomers, or dirt trapped between faces. Symptom: leak starts immediately after installation. Fix: inspect faces before install, handle with clean gloves, use a sleeve.
Recognize it: the leak starts right after installation, often before the pump has done a day of work. Causes: scratched or chipped faces, a nicked elastomer, dirt between the faces, or a stationary seat seated crooked. The damage usually happened in the minutes between unpacking and bolting up.
Troubleshoot: pull the seal and inspect the faces under good light — score marks, chips and embedded grit are easy to see. Check the elastomers for nicks and the bore for debris. Fix: replace the damaged parts; a scratched face cannot be lapped back in the field.
Prevent: unpack the seal at the pump, handle faces with clean gloves, use the installation sleeve, wipe the shaft and bore before fitting, and never force anything over a keyway. Installation damage is the cheapest leak to prevent and the most common.
Keep the bench honest too: work over a clean surface, keep the seal in its packaging until the moment of fitting, and never store opened seals face-down. A speck of swarf invisible to the eye sits between two lapped faces and cuts a groove that leaks from the first start. Cleanliness is not a luxury in seal work; it is the installation procedure.
Cause 3: Shaft Runout or Misalignment
Excessive shaft runout or coupling misalignment destroys faces quickly. Symptom: recurring failure on the same pump. Fix: check runout (typically under 0.05 mm at the seal), align the coupling.
Recognize it: the same pump fails repeatedly, usually with worn or cracked faces, while seals on identical pumps run for years. Runout above the seal's tolerance hammers the faces with every revolution; misaligned couplings add vibration and side load that the faces were never designed to carry.
Troubleshoot: dial-indicate the shaft at the seal — typical allowable runout is under 0.05 mm at the seal location, with the exact limit from the seal datasheet. Check coupling alignment with a dial indicator or laser. If the pump is vibrating, find the source before blaming the seal.
Fix: correct the runout — shaft repair, sleeve or replacement — and align the coupling to the manufacturer's tolerance. Prevent: include runout and alignment checks in every overhaul. They are cheap compared with the seal they protect.
Measuring runout is straightforward: mount a dial indicator on the pump casing with the plunger on the shaft at the seal location, rotate the shaft by hand, and read the total indicator movement. Do it in two places — at the seal and near the coupling — to separate shaft bend from coupling misalignment. If you are unsure whether your reading is acceptable, send it to the supplier; the seal datasheet's limit is the number that counts.
Typical coupling alignment targets from pump manufacturers: angular misalignment well under 0.1 mm per 100 mm of coupling diameter, and parallel offset under 0.1 mm for most flexible couplings — the exact values are in the coupling manual. Laser alignment kits report both numbers directly; feeler gauges and a straightedge are slower but adequate on small pumps.
Cause 4: Cavitation
Vapor bubbles collapse against the faces, pitting them. Symptom: pitted faces, noise, vibration. Fix: correct NPSH, suction conditions and pump speed.
Recognize it: a noisy pump, vibration, and faces that look sand-blasted. Cavitation happens when suction pressure drops below vapor pressure; bubbles form and collapse violently against the faces, knocking material out of them. The sound is unmistakable once you have heard it — like pumping gravel.
Troubleshoot: check the suction side first — blocked strainer, undersized suction line, high liquid temperature, low tank level, or the pump running beyond its curve. Compare the operating point against the pump curve. Fix: restore proper NPSH margin; correct the suction arrangement or the operating point.
Prevent: monitor suction pressure, keep strainers clean, and never run a pump that sounds like gravel. A cavitating pump kills its seal and its impeller together — usually in that order.
NPSH, in one sentence: the suction side must deliver enough pressure to keep the liquid from boiling at the pump inlet. The margin above that minimum is your safety buffer, and it shrinks with hot liquids, high altitudes and long suction lines. If you cannot change the suction arrangement, changing the operating point — lower flow, different impeller trim — can restore the margin. Your pump supplier can confirm the NPSH curve for your pump.
Cause 5: Dry Running
Running with no liquid destroys faces in minutes — the fluid film is the seal's coolant and lubricant. Symptom: heat damage, cracked faces. Fix: protect against dry running with level controls or a dry-run-protected seal.
Recognize it: heat damage — discolored or cracked faces, a burnt smell, a gland too hot to touch — after a pump ran with no liquid or with vapor at the faces. Without the fluid film, the faces rub directly and the temperature climbs in seconds. Minutes of dry running can destroy a seal that cost more than the shift.
Troubleshoot: find out why the pump lost suction — level switch failure, closed valve, air lock, loss of prime. The seal is the victim; the root cause is upstream. Fix: replace the damaged seal and correct the root cause before restarting.
Prevent: install a low-level cut-out or dry-run protection, keep the suction strainer clean, and make prime-before-start part of the startup checklist. If dry running is a recurring risk on the duty, ask your supplier about dry-run-capable face pairs — they survive longer, though no seal is truly dry-run-proof.
Vapor locking deserves a mention: a pump that starts with vapor or air at the faces behaves like a dry run even when the tank is full. The classic moment is a restart after maintenance, or a pump that has sat idle with a leaking suction valve. Always vent and prime before starting, and if the pump has run dry even briefly, inspect the faces rather than assume the seal survived.
Cause 6: Wrong Spring Setting
Too much compression overheats the faces; too little lets them open and leak. Symptom: gradual weeping or overheating. Fix: set compression per the seal instructions — this is where cartridge seals eliminate a whole class of errors.
Recognize it: a gradual weep that appears after commissioning, or a gland that runs hot with no visible leak. Too much compression forces the faces together harder than the film can support; too little lets the faces lift and weep. Both are silent failures — no dramatic spray, just a slow decline.
Troubleshoot: check the setting against the instruction sheet. On component seals, compression is measured at installation; on cartridge seals, the factory set it — if a cartridge seal leaks at the faces, the setting is rarely the cause, so look elsewhere first.
Fix: reset the compression per the instructions, using the setting marks on the sleeve. Prevent: use the setting marks every time, record the setting in the maintenance log, and consider cartridge seals where installer skill varies.
If you must set compression on a component seal, do it with the instruction sheet in hand and the setting marks on the sleeve — not by feel. The correct setting is a measured dimension, usually a fraction of a millimetre of spring travel, and it differs between seal designs. When in doubt, a cartridge seal removes the question entirely: the factory set it, and the setting is part of the seal's test record.
Cause 7: Worn Faces
After years of normal service, faces wear past their working limit. Symptom: gradual leak increase over months. Fix: replace the seal — this is normal maintenance, not a failure.
Recognize it: a leak that grows slowly over months — from a weep to a drip — on a seal that has run for years. The faces have worn past their working limit and the spring can no longer push them together enough to seal. This is end-of-life, and it is normal maintenance, not a failure.
Troubleshoot: compare the leak trend with the installation date. A steady, slow increase over a long service life points to wear, not to a defect. If the same pump wears out every seal quickly, that is not end-of-life — that is cause 1, 3 or 4 wearing the faces for you.
Fix: replace the seal on the next planned outage, not in an emergency. Prevent: log install dates and track leak trends per pump so you can schedule replacement before the leak becomes a shutdown.
Typical life expectations, honestly stated: a well-selected seal on clean water often runs two to five years; abrasive, hot or aggressive duty shortens that to months. If your plant's seals are consistently short of the typical range for their duty, that is a signal — selection, installation or pump condition is off, and replacing seals will not fix it. Use the diagnostic table below to find out which.
Leak Rate Assessment: Weep, Drip or Spray
Not every leak is the same problem, so quantify before diagnosing. A weep is a film of moisture that never forms a drop — many seals run like this and it is considered acceptable. A drip is a drop every few seconds to every few minutes — a real leak worth investigating. A spray or stream is an active failure — the pump should be stopped or the leak contained, especially with hazardous media.
Measure it, don't guess it: catch the leak in a clean container for one minute and record millilitres per minute, plus the operating conditions at that moment — flow, pressure, temperature. Repeat the measurement at the same conditions later. The trend tells you whether the leak is stable, improving during run-in, or worsening.
Use the assessment to set priority: a stable weep on a spare pump is a note for the next outage; a worsening drip on a critical pump is a plan for this week; a spray of hazardous media is stop-now. The same leak rate has different urgency on different pumps — judge against the risk, not just the drops.
| Severity | What you see | Typical rate | Action |
|---|---|---|---|
| Weep | Moist film, no drops | Under 1 drop per minute | Monitor; note in the log |
| Drip | Regular drops | 1-30 drops per minute | Investigate this week |
| Stream | Continuous flow | More than 30 drops per minute | Stop or contain now |
The numbers are rough benchmarks, not standards — a seal's design leak rate varies with media, pressure and speed. What matters is the trend: a weep that stays a weep for months is a different situation from a weep that becomes a drip in a week. Measure on the same conditions each time, and the trend will show itself.
In some industries, seal leakage is regulated — fugitive-emission limits for volatile organic compounds, for example, are monitored at the gland. If your site is subject to such limits, treat the leak-rate measurement as a compliance record: same time, same conditions, logged properly. That record also gives you a defensible basis for scheduling the repair.
Diagnostic Decision Table
Here is the fastest route from symptom to likely cause. Use the table as a starting point, then confirm with the checks in the cause sections above.
| Symptom | Most likely causes (check order) | First checks |
|---|---|---|
| Leak from day one, no obvious cause | Installation damage; wrong seal; wrong spring setting | Pull and inspect faces; verify duty vs seal rating; check setting marks |
| Same pump fails repeatedly | Shaft runout; coupling misalignment; cavitation | Dial-indicate shaft; align coupling; check suction |
| Leak grows slowly over months | Worn faces — end of life | Compare leak trend vs install date |
| Gland hot, little or no leak | Over-compression; dry running; tight faces | Check spring setting; check flush; check suction |
| Leak during startup only | Air lock; vapor at faces; dry start | Vent casing; prime properly; check level |
| Noise and vibration plus pitted faces | Cavitation; dry running | Check NPSH; check level and strainer |
Rule of thumb: if the pump-side checks — runout, alignment, suction — are clean and the seal still fails, the problem is the seal or its installation. Fix the pump first: a new seal on a sick pump is a new seal wasted.
Combine the table with the leak-rate section and you have a working diagnosis in three steps: grade the leak, match the symptom row, confirm with the listed checks. If the symptom matches no row cleanly, start with the pump-side checks anyway — runout, alignment, suction — because they are cheap and they eliminate the most expensive mistakes.
Worth owning for this work: a dial indicator for runout, a laser or feeler-gauge kit for alignment, an infrared thermometer for gland temperature, and a stopwatch plus container for leak rate. Together they cost less than one seal failure on a medium pump, and they turn every diagnosis from opinion into measurement.
How to Diagnose Methodically
Record: when the leak started, how fast it weeps, what the pump was doing, and whether faces show damage. Replace the seal only after ruling out the pump-side causes (runout, cavitation, dry running) — otherwise the new seal will fail the same way.
A structured record beats a memory. Note the date the leak started, the rate (weep, drip or spray, in ml/min), what the pump was doing when it started, recent changes — new media, new operator, new duty — and the seal's install date and part number. Then check the pump side first: suction, level, alignment, runout, before pulling the seal.
If you replace the seal without understanding the cause, you have paid for the same failure twice: the new seal inherits the same pump-side problem. When the first replacement also fails, stop replacing and start measuring.
Send the evidence to your supplier before you order the replacement: the leak rate, the operating conditions, the install date, and photos of the failed faces. A supplier who sees scored faces and a hot-gland history can often identify the cause from the photos alone and adjust the recommendation — different faces, different elastomer, a balanced design, a flush plan — instead of selling you the same seal twice.
Seal Life Extension Checklist
Most leaks are preventable. Work this checklist at every overhaul, and between overhauls on the pumps that matter, and you will catch problems while they are still cheap.
- Keep suction strainers and flush lines clean — check monthly on dirty duty
- Protect against dry running with a level switch or cut-out
- Monitor gland temperature and vibration; log them with the leak rate
- Check coupling alignment and shaft runout at every overhaul
- Confirm the media has not changed since the seal was selected
- Run seals in properly after every installation
- Record install dates and failure reasons per pump
The pattern is the point: one pump that keeps leaking while its twin runs clean is telling you something specific about that pump. Listen to the data, and most seal problems turn out to be pump problems.
Finally, manage the spares: store seals cool, dry and out of direct light, rotate stock by date, and never keep opened seals on a shelf. An elastomer that has aged in storage fails within hours of installation, and it looks exactly like a material defect — right up until someone checks the storage log.
Need help matching the right seal? Contact us with your pump model — we confirm the fit before you order.
NEXT STEP
Ready to Upgrade to Mechanical Seal Solutions?
Send us your requirements — our team responds within 24 hours with pricing and lead time.
Written by
Ray ChanMechanical Seal Buyer's Guide Author · Mechanical Seal Solutions Specialist. Ray helps global importers and integrators source factory-direct mechanical seals.